

How to Install Vinyl Wraps for Maximum Durability
Introduction
Vinyl wraps can dramatically transform the appearance of vehicles, appliances, and various surfaces. In this guide, we detail a step‐by‐step process to install vinyl wraps that not only look impressive but also deliver maximum durability even in challenging conditions.
Materials and Preparation
Before starting, ensure you have all the essential tools:
a squeegee, a heat gun, and appropriate cutting tools. Preparation is key – clean your surface thoroughly and remove all contaminants. For expert advice on surface preparation, visit
3M’s official site.
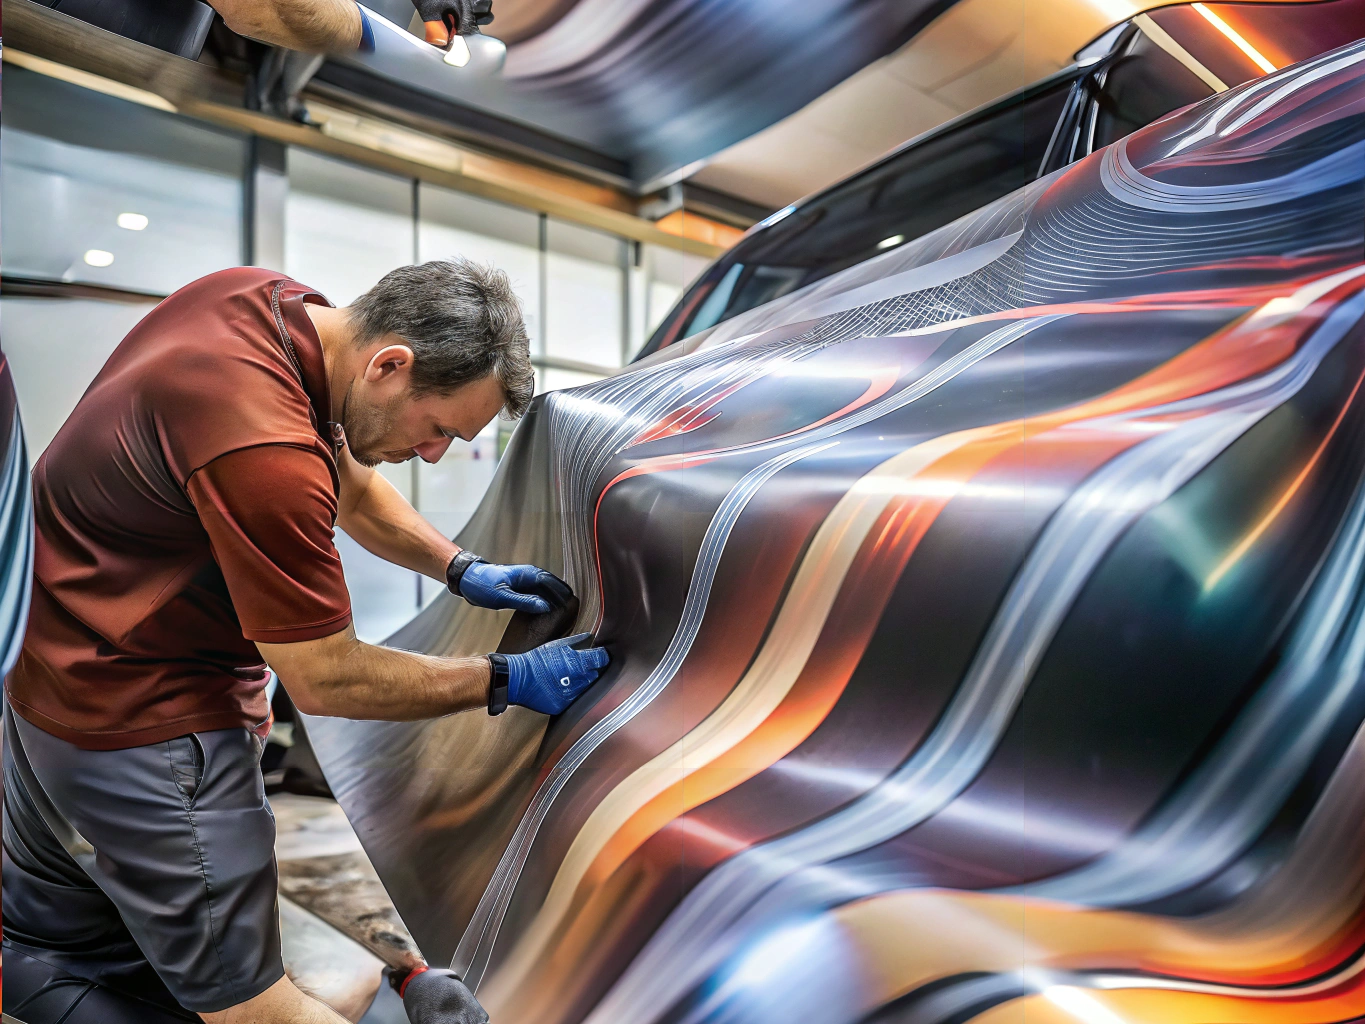
Step-by-Step Installation Process
- Clean the Surface: Remove dust, oils, and other residues to guarantee strong adhesion.
- Measure and Cut: Accurately measure the target area and cut the vinyl wrap to the proper size.
- Apply the Wrap: Begin applying from one edge. Use a squeegee to press the wrap onto the surface, gradually working out any air bubbles.
- Heat Activation: Gently use a heat gun to activate the adhesive. The heat helps conform the wrap onto the surface, smoothing out any imperfections.
Tips for Maximum Durability
For an installation that stands the test of time, consider the following:
- Work slowly to ensure even application and prevent stretching the vinyl.
- Use the heat gun carefully to avoid overheating and damaging the vinyl.
- For complex surfaces or if you’re unsure about the process, consulting a professional might be the best option.
For more in-depth advice on effective vinyl wrap installation and maintenance, check out our detailed guide on
installation best practices.
Conclusion
A well-installed vinyl wrap not only enhances the appearance of your asset but also provides lasting protection. By following the steps and tips outlined above, you can achieve a professional finish every time. Happy wrapping!


Add a comment